Hi!
Its almost the unofficial kick off of summer, I'm so excited. It feels as if we've mossed the last two summers. So, everyone it seems is VERY excited for this one. 
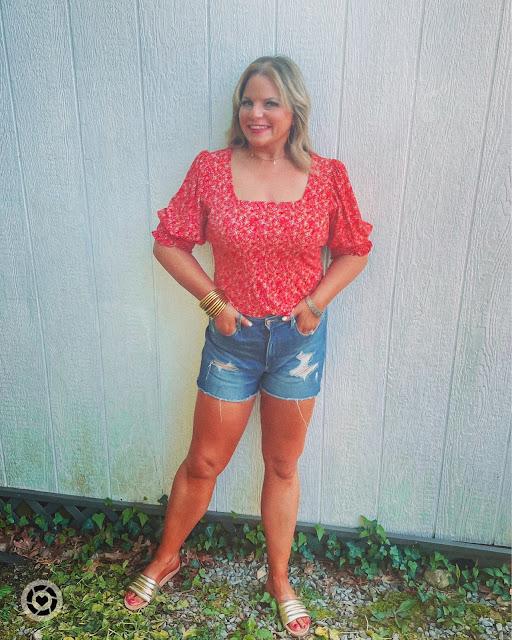
Where I have lost a substantial amount of weight, I've had to buy an entirely new summer wardrobe. (I say had to, but you know I loved EVERY second of it!!) 
When you do need to buy a whole bunch of clothes at once, its important to find sales. Heck, even if you are just buying one or two things...who doesn't want a good sale?

Here is a roundup of a few of the best sales happening this weekend.


Save an additional 20% with code: MEMDAY now through Monday night at Macy's.


25% Off Sitewide with Free Gift  with code : MEMORIAL25
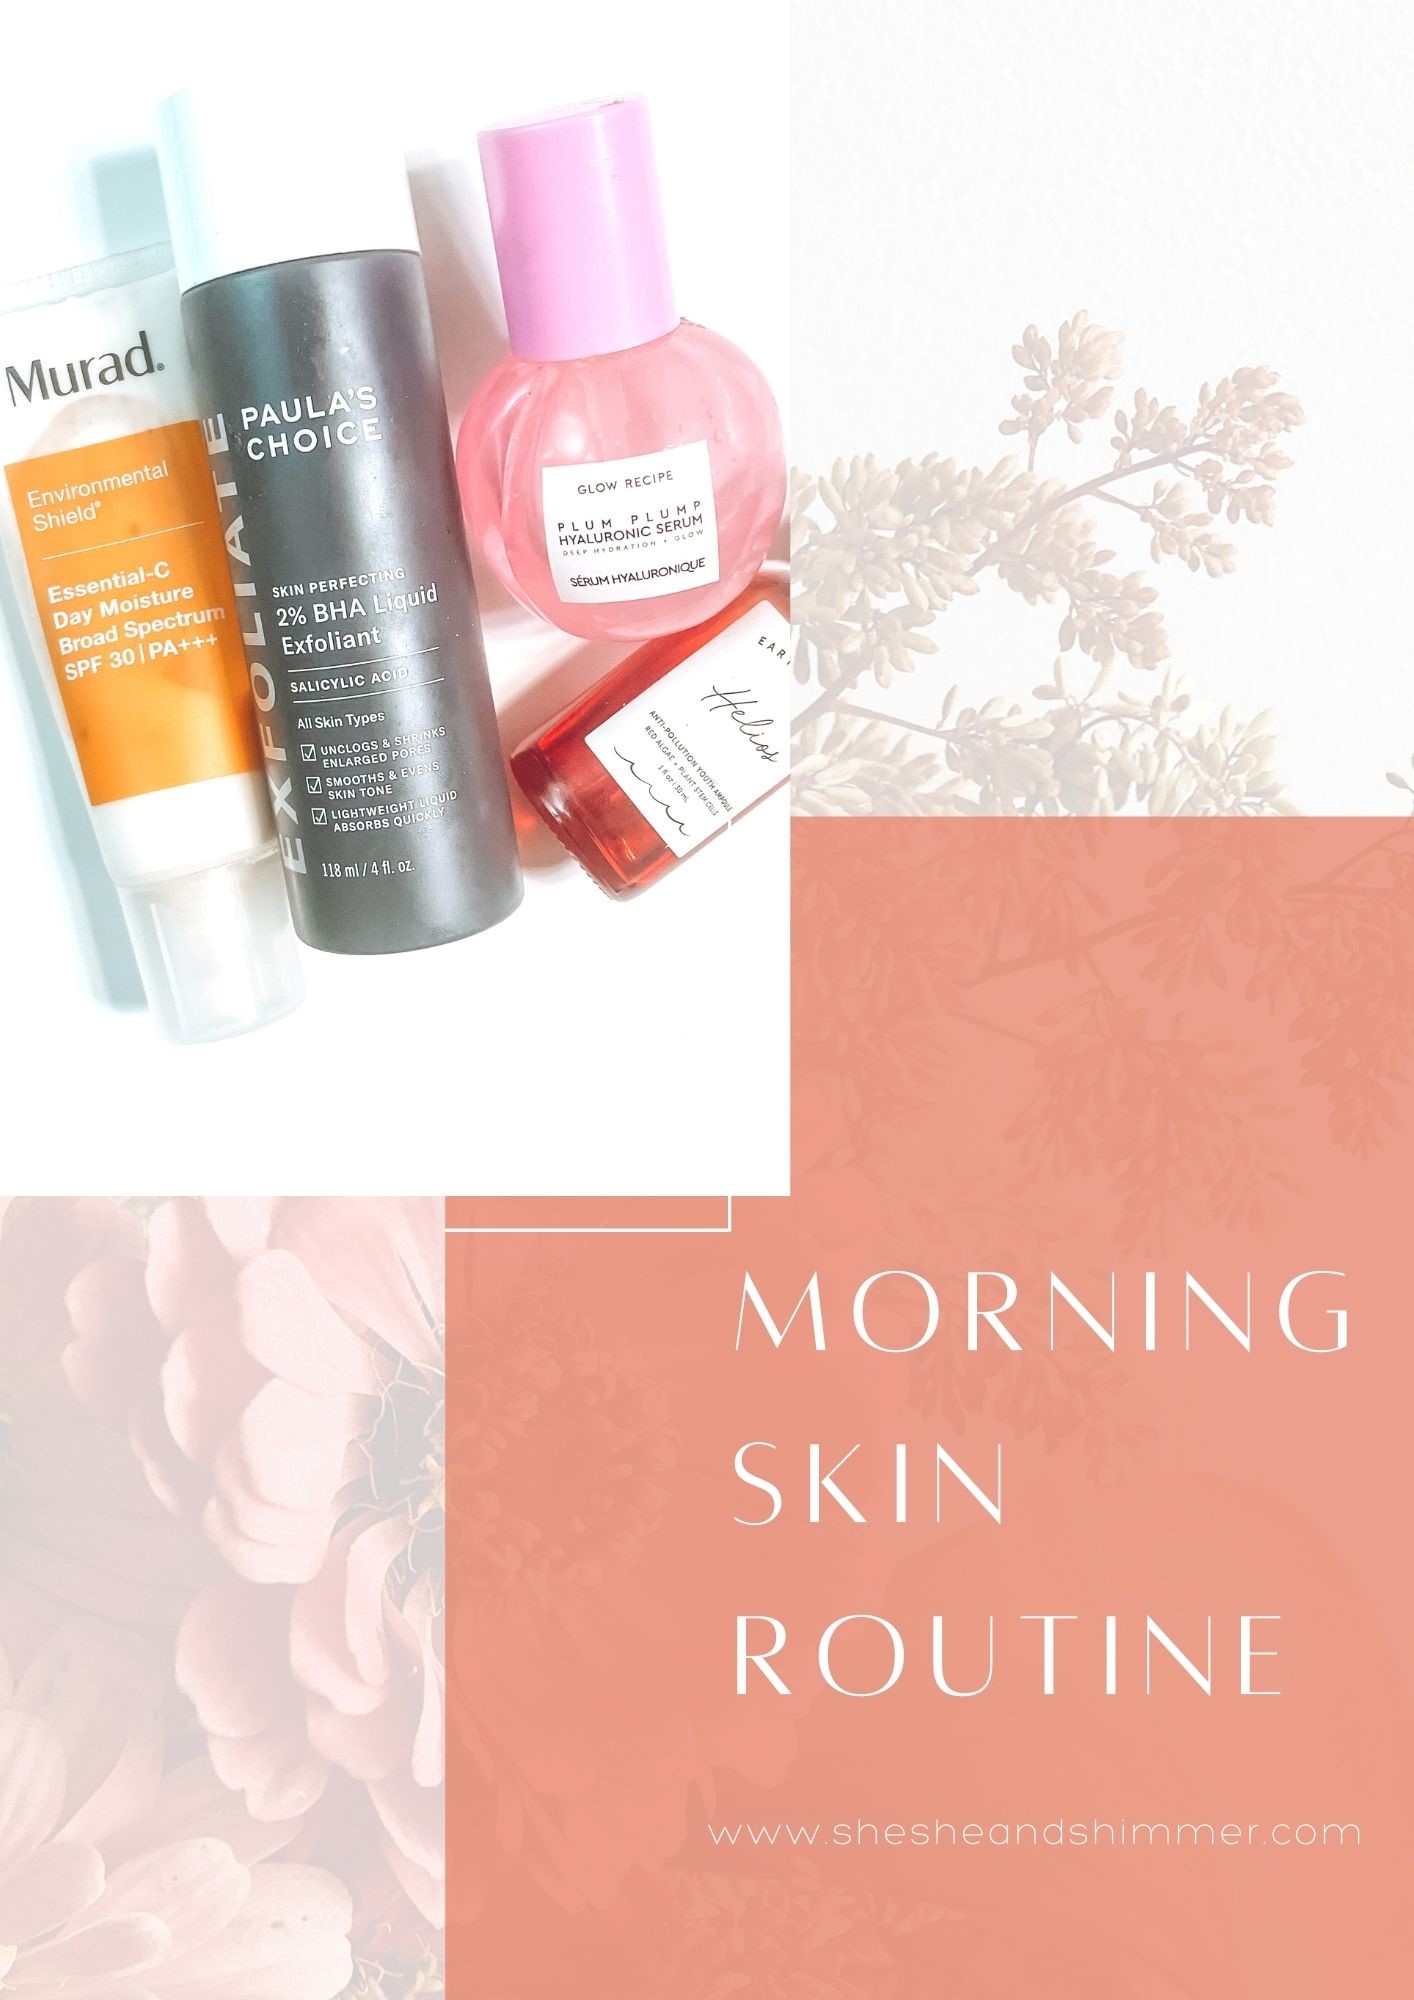
If you are unfamiliar, Elemis London is a top shelf line of skin care.  My personal favorites are the Pro-Collagen Rose Facial Oil and the Pro-Collagen Definition Night Cream
This is a prestige brand that doesn't often go on sale. This sale is too goo to pass up.


Hi there:
How is everyone doing today? This past weekend we had our 1st 90 degree day, it was glorious. 
I posted the above photo to my Instagram. I had several people tell me how back in the day they used to make their own cutoffs. That got me thinking.... what a great way to repurpose those (hopelessly out of style) skinny jeans! I dug through and found a pair laying around that I had yet to donate and decided to give it a try. It really was a simple process.


Step 1:
Put on your jeans. Use a pencil or a piece of chalk to mark where you think you'd like the jeans to hit once they are shorts. 

Step 2:
Take them off and lay them on a flat surface. Find a pair of shorts that you really like the length. put these on top of the jeans aligning the waist bands. See where the shorts fall in accordance to the initial line you made. Make your decision as to where you want to make the cut.

Step 3: Use a ruler to make a straight line with your chalk or pencil 2.5 inches or so BELOW where you want your shorts to hit on your leg. Remember, you can always take more off, but you are unable to add it back once you snip it.

Step 4: Put them back on and fold up those last 2.5 inches. Decide is this still where you want them to hit.  If you like the cuffed look, great! All you have to do now is iron the cuffs into place and your done! If you want them frayed there are two more steps to follow.

Step 5: Take them back off and fold vertically so the legs are onto of each other. Make the last cut (both legs at the same time) at a slight an angle.
 You'll want the inseam of your shorts to roughly be 1.5 inches or so lower than the outer seam. Take any straight surface and eyeball a straight line from the mark on the outer leg to the inner seam, and make a dot there. Next, measure  1.5 inches below that dot, and make a mark there. Lastly, using the straight surface to actually draw a final cut line from the original mark on the outer leg to the new, lower mark on the inner leg.

After you go ahead and cut along that line, try them on and see how they look. If they feel too snug in the legs (it is skinny jeans we are talking about) make a slight snip in the inner seam of each leg. Once you put them through the washer and dryer, they'll get that frayed look.


If you are thinking "GIRL, I DO NOT HAVE TIME FOR THIS" , I got you. Click the links below for the most perfect, premade cutoffs!


Denim Cutoffs


Slide Sandal


Square Neck Floral Top


"All weather" Bangle Bracelets


XO,


Hello.

I hope that today finds you well. It FINALLY feels like spring around here. This past Friday is when it happened. In the morning, it was 49 degrees out. We had the heat on. By late afternoon it was over 80 degrees, and we had to put the AC on. I am not complaining at all though. I LOVE this time of year.

Anyway, today I wanted to share my morning skin care routine with you.  Back in my younger days I had no "Morning skin care routine". Heck, back then my nightly skin care routine was nothing more than washing my makeup off. Now, that just won't cut it. In order to keep my skin looking and feeling its best, I need to put in a bit more effort.

Now, don't be mistaken. My morning routine is not long, drawn out or complicated. In fact, its quick, easy and seamless. Here is an overview.


As soon as I get out of the shower, I swipe my face with a cotton ball that is saturated with this magical potion.
I've ALWAYS been prone to clogged pores, particularly on my nose and chin. This has all but eliminated that problem.


Next, I use this Hyaluronic serum. This is such an amazing hydrator. It literally plumps your skin. A little bit of this goes a long way and works wonders. Aside from the moisturizing benefits, this potion reduces those pesky fine lines.


This right here is my product holy grail. I wear it EVERY.SINGLE. DAY.  It doesn't matter what the season is, sunscreen is essential. This is SPF 30. It also is infused with vitamin C. Vitamin C is an anti aging power house. It brightens skin and increases elasticity. Each and every time I've tried to use vitamin C prior to discovering this product, it would end up being too drying / irritating.  This is also a powerful moisturizer , therefor no drying.


** Bonus Item**......


If my skin is in need of some extra TLC, this is what I reach for.  Its beyond soothing.


There you have it, my quick, easy but EFFECTIVE morning skin care routine.


XO,


Happy Friday!

I am not on TikTok , however, I find that I cannot escape it. I have seen that one of the "latest & greatest" fads on the platform is the "underpaining trend." I'm sure there are many folks who think that this type of makeup application was born from social media. Au contraire, this is an age old technique that is being rediscovered by the younger generation.

If you are unfamiliar, underpainting is a technique of make-up application  that involves applying contour, blush and highlighter under the foundation, not on top of the foundation as is done in standard makeup application.

Here in the year 2022, that heavy "Kardashianesq" contour look from 2016 is as dated as blue eyeshadow and "mall bangs". Underpainting is a subtle way to add dimension to your face without having those unsightly stipes of color that are indicative of traditional contouring. 

Underpainting gives a lovely "Glow from within" finish to the skin. Its a very understated and natural looking way of wearing your makeup.

There is a very good chance that you already own everything that you'd need in order to try underpainting.

In my opinion, they key to making this work is using liquid, not powder based products. Here are the exact products that I used.


How to nail the technique:

Start with clean, well moisturized skin. This is the moisturizer that I start with. After you have moisturized, you'll want to apply a primer that will help the blush, contour and highlight really grip on. Remember, there products are not necessarily created to be applied directly onto the skin. A good primer will make all the difference. This Primer is the best I've ever used. If they sold it by the gallon, I'd purchase it that way.

Once you are moisturized and primed, go in with your bronzer, blush and highlighter. Use a heavy hand. Warning, it WILL look garish. Don't stress though, once you apply and blend your foundation, it will look amazing.

Lightly apply foundation all over your skin. Take a substantially damp Beauty Blender Makeup Sponge and start blending. Its important to mention, you'll need to use a lighter weight foundation. If you  are using something full coverage, you'll cover over the blush, contour and highlighter.

After you have applied and blended your foundation, top off the whole look with a light veil of setting powder. This one by Fenty is my favorite. It helps lock makeup in place without settling in fine lines.

This tutorial is the one that I used while learning the ropes of this technique. This tutorial is to the point and easy to follow along with.


That is all that I have for you today, friends! Have a wonderful weekend!

XO,


Hello! Who's ready to talk hair today? You know that is a favorite topic around these parts!

More specifically I wanted to talk to you about Lamellar Waters. "What is this?" you might be asking. Lamellar water is a water based hair treatment. Because its water based its very light weight and able to penetrate your hair shaft much quicker and arguably more effectively than some products that are thicker and heavier.  Lamellars are able to deposit their active ingredients (normally hydrating and repairing agents) to the specific parts of each hair strand that needs it. Where these products are water based , they are not heavy. They will not weigh your hair down. 

The benefits over traditional hair masks are these, Lamellars are faster working, no need to sit for 30+ minutes with a hair mask on. These work in under 2 minutes. These don't weight down fine hair. The repair approach is far more targeted and really gets to the damaged parts of your hair.

Now that we got all of that out of the way... 

I own both of the Lamellar Waters in the photo at the top of this post. The first one is  by Kerastase and the second one is by L'Oreal.


I immediately though of how Kerastase is owned by L'Oreal. I couldn't help but wonder "Are these the same product?" I knew I wanted to try using both of them for a couple of weeks and see.

Long story short....to me, yes. Yes, these products are nearly identical and do the same thing and delivery the same levels of results.


I used each of these 2X/week for three consecutive weeks. I  took a one week break in-between each of them.

Both of these made my hair shine like it hasn't in YEARS. (Think of how healthy a child's hair typically is.) 
Both help stave off frizz and cut down on drying time. Both made my hair feel strong and helped me to notice FAR less brakeage.

The only discernable difference that I could find was the scent. One was not "better" or "worse" in my opinion. They are just have different fragrance. 
 
While I do love both of these, its the L'Oreal one that I will be repurchasing. I cannot justify spending $53 one the Kerastase product when the L'oreal one is $7.00.
If you guys have been here for a minute, you KNOW how much I love my high-end boujee beauty products. I find any excuse to buy them. I do LOVE Kerastase, that won't change. However, this time its the drug store product that wins out! 


XO,


© SheShe and Shimmer · THEME BY WATDESIGNEXPRESS