Happy Friday friends! Happy rainy Friday if you are here in New England.

So, Monday is October first #howdidthathappen . I know that I'm supposed to #lovefall. Its what Instagram tells me. I'm supposed to love cool nights, hoodies and camp fires. Well, I guess I failed. I don't love any of that. What I DO love is summer. I love 5:00 am sun rises, 90 degree days and the scent of Coconut sunscreen. However, summer is over for this year. Whining will not change that. In regards to my beauty routine, there ARE some things that I truly look forward to. So, for the sake of staying in a positive mindset, let's live there for a tad!


1) Good hair weather
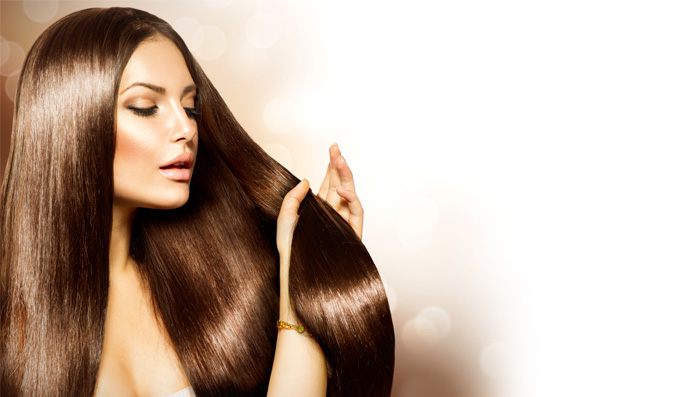
The humidity is mostly gone at this point. That means that the frizz is gone as well. It's so much easier to style/blow out hair now. 


2) Dark Mani/Pedi's


All spring and summer long, I do light nudes on my hands and brights such as coral and fuchsia on my toes.
Once the air gets its chill, I take that as my cue to switch over to shades such as OPI's "Lincoln Park After Dark." I don't know why, but I've always gravitated toward these shades.


3) No more time or money spent on sunless tanning
I've made no secret about the fact that I am a sunless tan devotee. Starting in late March, I sunless tan 2-3 per week for the entire season. (To read more about that, click HereHere ). Like I have said before though, if you ARE going to sunless tan, its a time investment. Each time I do it, its a 20-30 minute process. I'm happy to be free of that for now.


4) No more worrying about makeup sweating or smearing off. 
Its inevitable , when the mercury hits 90+ ( or lower) you'll sweat. For sure some cosmetics do a better job of standing up to the summer weather than others (A post for next spring perhaps??) . Regardless though, June- September I find myself having my makeup being a causality to the summer heat. I'm happy to not deal with any of that for a few months.


That's it for today. I hope everyone has a phenomenal October. 
What are you looking forward too this fall?
I'd love to know!


XO
~S 


Hello!
I hope everyone had a fantastic long, Labor day weekend. Here in Plymouth, the weather was picture perfect.
I know that everyone just loves fall. I do too, but for me, summer is and will always be my number one!
Anyway, last week, my friend Diane and I went out for a nice dinner. (If you are ever in Plymouth, MA be sure to go to Martini's on Main Street. SUCH AMAZING FOOD). We snapped a picture, and I uploaded it to my Instagram (SheShe830).  Well, color me flattered, because I had 7 people ask "How did you do that under your eyes?' Or "What Highlighter is that?"
so, I figured, I might pop on here and give you the info.
Everything that i have on my face, is in this picture here....

As you can see, there was actually no highlighter used. How I did the light under my eyes is through a process called "Baking". Baking is a technique that goes back to the olden days. It was once just considered for use as "stage makeup". However, it has become mainstream recently.  Baking is a way to conceal any dark circles you may have. It is a SUPER powerful way to do this. (The old analogy of bring a gun to a knife fight comes to mind).
It will keep your concealer from fading or cracking. Also, if you tend to get oily, this is your best way of fighting that.
There are are few things to keep in mind.

  • If you want to do this, it is a full makeup look. You'll also need to do foundation, contour and blush in the bare minimum.
  • You absolutely have to do a gradient fade with the concealer as you get further away from your eyes. Otherwise, it will end up looking as if you are wearing a Zorro mask, that is just not a good look.
  • You have to set aside at least 25 minutes for this.          
There are countless YouTube tutorials by actual makeup artists who can give you a step by step on how to do this properly.

In a nutshell though, this is what you do...

  1. Apply your foundation
  2. With a concealer lighter than your skin, "Highlight" anything your want ( In the photo , I did under my eyes, down my nose and the space on my forehead right above my nose.)
  3. With a wet beauty blended, cover the concealer in the thickest coat of loose powder. Literally, you want to be caking this powder on.
  4. Let it rest, untouched for 20-25 minutes ( I did my eye shadow/lashes at this point).
  5. After 20-25 minutes, use an extra large, clean powder brush to dust the powder off of your face.
That's it! Once you've done that, your concealer is literally baked on.

If anyone else gives this a try, send me a pic or tag me, I'd love to see!
.
© SheShe and Shimmer · THEME BY WATDESIGNEXPRESS